


Usage Tips
- Don’t leave drill standing in partially drilled hole. It may freeze into place.
- In conditions of thick ice, be sure to pull the auger out of the ice several times while running to assure excess ice shavings do not buildup in the hole or binding may result.
- Keep your electric drill assembly out of standing water. Rest the drill horizontally using the drill handle (battery) and side-arm as the props.
- In colder conditions, keep the drill battery as warm as possible by removing it from the drill and keeping it in your shelter or jacket pocket. Keep spare batteries warm as well.
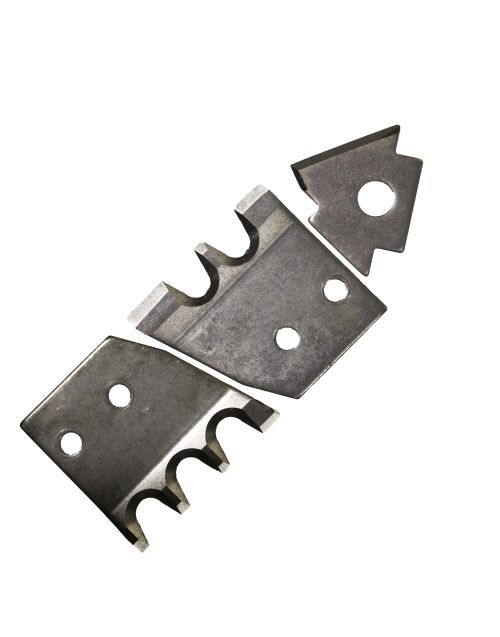
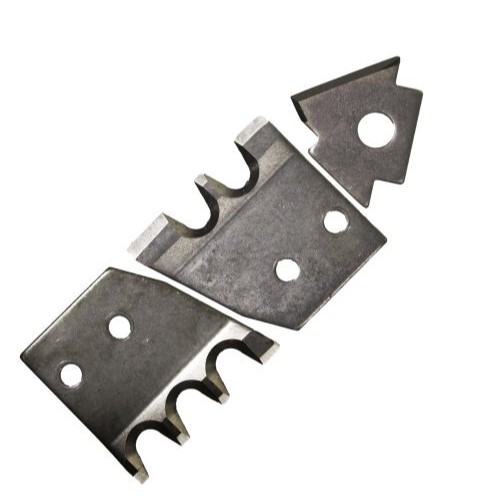
- Inspect K-Drill auger periodically, and if damaged, have it repaired or replaced by an authorized service facility. Keep the blades sharp and clean for best performance and reduce the risk of injury.
- K-Drill offers Blade Sharpening of the product unless damaged.
- If you have problems or have a defective K-Drill, please don’t return it to your retailer. Contact us directly for all warranty issues.
- At the end of the ice fishing season before storing for summer, spray WD-40 on the blades to prevent rusting during the off season.
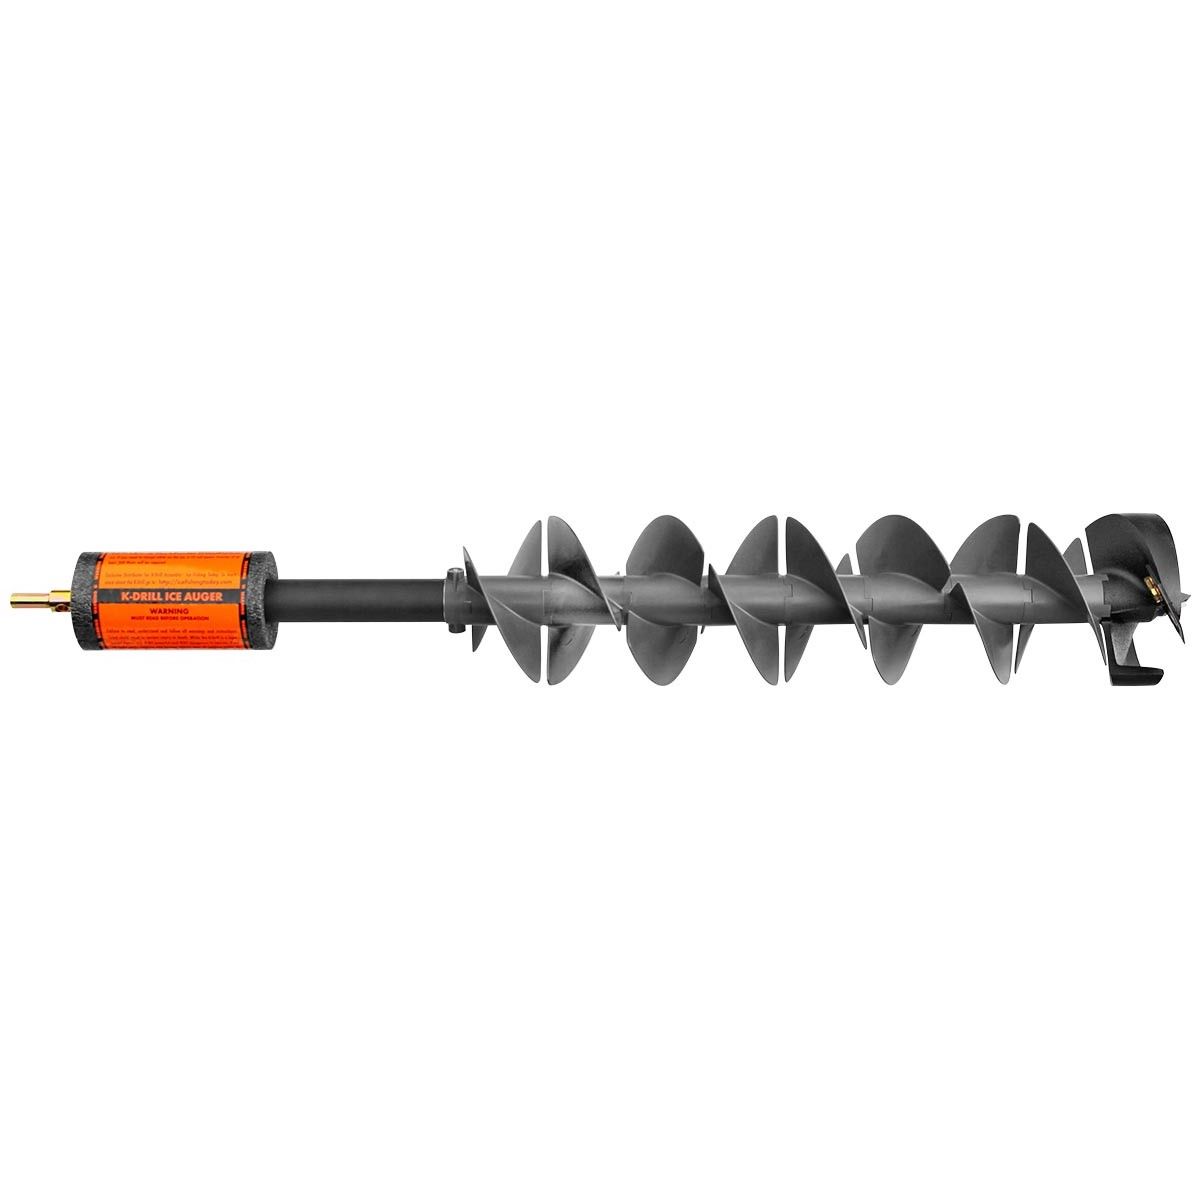
Connecting your power drill to the K-Drill
K-drill has flats on the drive adapter at the top of the auger, these flats are to align with the 3 jaws in the chuck of your electric drill. Of course, when you have them together you can’t see either one to be certain they are aligned correctly.
Suggestion #1 – with some durable paint or nail polish put a dot above the flats on the k-drill drive adapter put it far enough up the shaft that you’ll be able to see it with the drill chuck installed. Do the same on the end of the electric drill. Not the part that rotates to tighten the chuck, but the part that rotates with the drill.
Tighten 3 times:
- Once you have mating dots on the drill and K-drill you are ready to install and begin tightening. While holding the trigger handle of the drill and rotating the drill back and forth you will get less and less play in the fitup between the drill and k-drill. Then you will tighten the grip of the chuck down as tight as possible by hand.
- Drill 2-3 inches into the ice – stop – tighten some more. The jaws of the drill will actually be biting into the material on the drive adapter of the k-drill.
- Drill 2-3 complete holes and – stop – tighten some more. The jaws should be well seated into the material of the drive adapter and you should be good to drill another 20-30 holes.
Always good to check after a bunch of holes just to be certain nothing has loosened up. Always a sinking feeling when your auger drops out of your drill, whether into the water or out on the ice.
When to clear your hole of ice
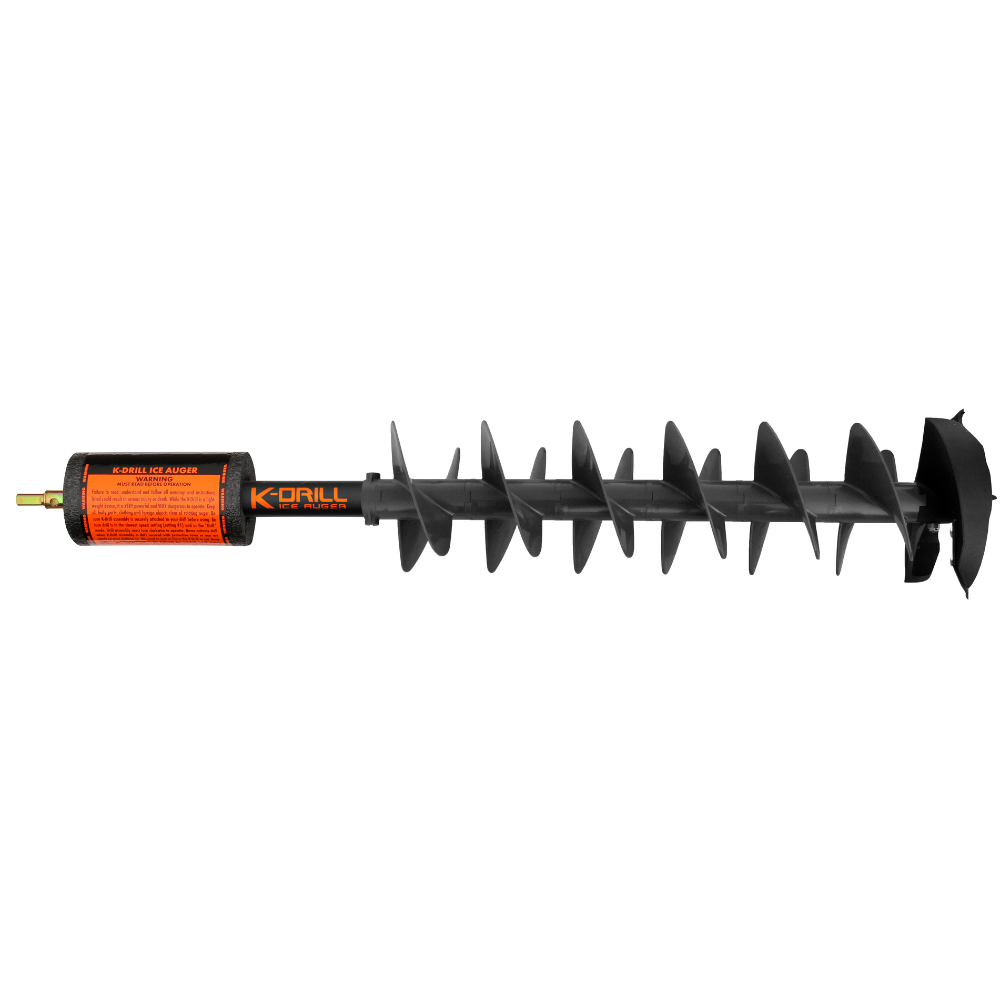
Your K-drill has 24 inches of flighting to carry the chips out of the hole. As long as you can still see the flighting as you are drilling there is no need to clear the hole – the flighting is doing its job. Once you can no longer see the flighting – CLEAR YOUR HOLE!
Then continue to clear your hole every 5-10 seconds, it’s cutting an inch per second so is generating a lot of ice chips. If you don’t clear the hole of ice chips, you’ll be using up battery power just stirring ice chips in the hole. If you continued to cut and don’t clear the chips the ice chips will pack at the top of the auger until they start bending and breaking the flighting at the top of the auger. This is NOT covered under warranty. Simply put, clear your hole when you can’t see the flighting and then every 5-10 seconds thereafter until you are through.
Re-drilling an existing hole
Before explaining how to re-drill an old hole you must first understand how an existing hole refreezes.
- Ice will begin refreezing from the top and outside edges.
- As it continues to freeze, the ice will continue thickening in from the sides with more ice at the top of the hole than the bottom, picture this as a cone (or bullet shape) of water in the column that decreases the cone size as re-freezing continues.
- Given enough time and the right freezing conditions the hole would become a solid water column and would appear as though a hole had never been in that location. However, if you come back to this hole in a day or 2 it is possible to have a solid layer of ice on the top 1-2 inches and then you will experience the center core being of water and the outside being frozen
Drilling
- The further you drill down through the existing hole you will notice less and less ice on the outside perimeter of the hole and more water in the center. This is where reopening these holes may get a little tricky depending upon which blade configuration and auger head you are using and how close the auger head and cutting blades match in size. The more closely the cutting head comes to meeting the blade size, the easier it will cut and the further you will get down the existing hole.
- Once the ice on the side of the hole is smaller than the cutting head diameter, the blades will want to grab the side walls of the remaining ice and cork-screw itself down through the rest of the ice in the hole.
- It is extremely important to hold back on the auger at that time to prevent it from doing this little cork-screw maneuver. By holding back on the auger and allowing the blades to cut away on the thin layer of ice on the outside edge of the hole you will cut out as much of this ice as possible ALL the way down to the bottom of the hole giving you a clean hole much the same as your original hole.